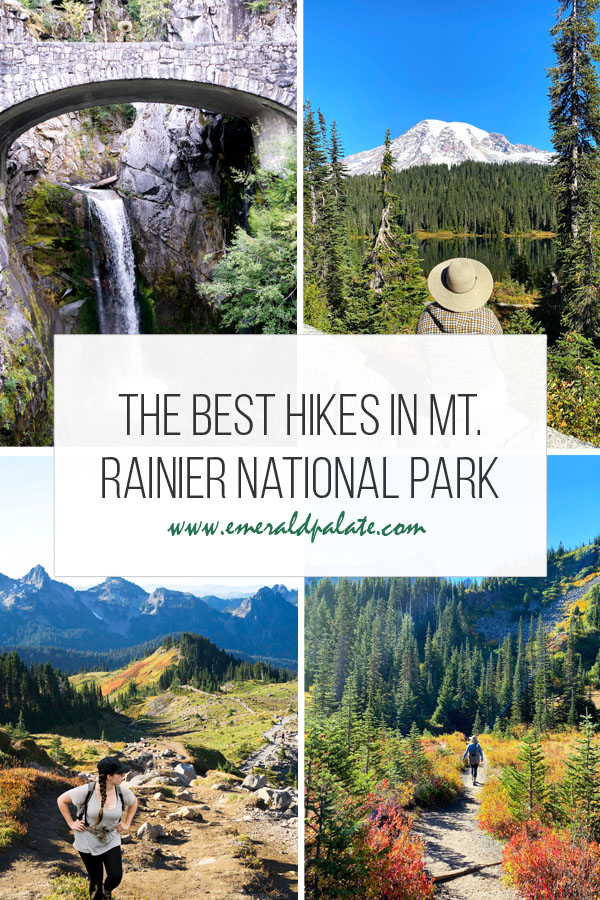
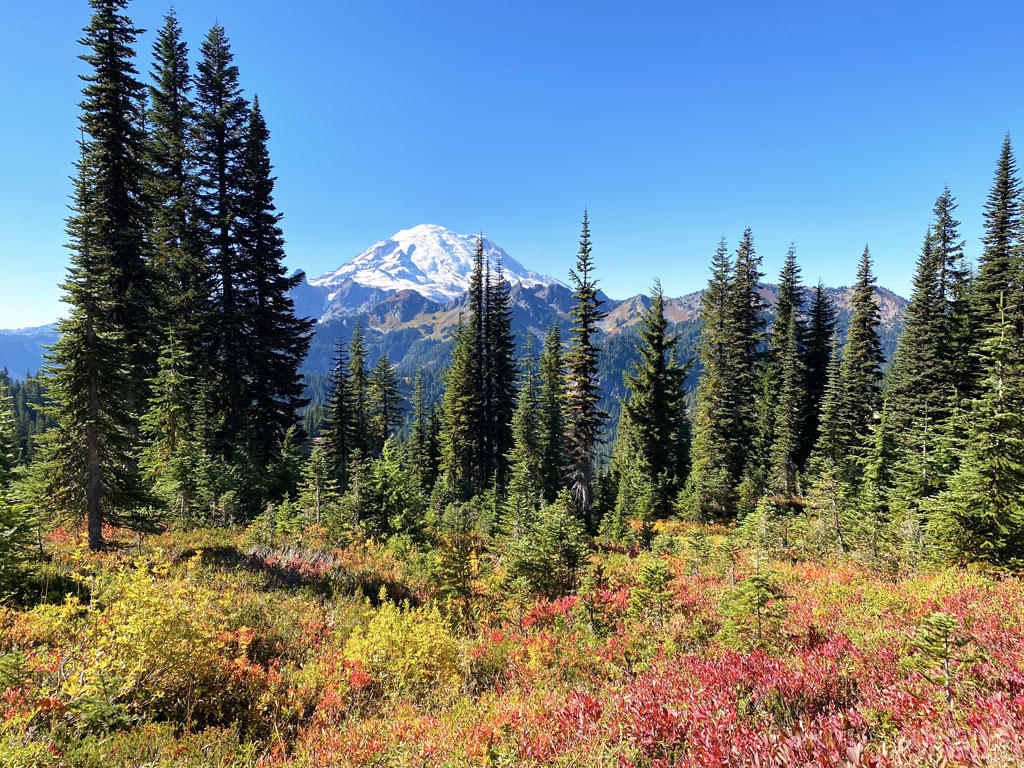
Choosing the best hikes at Mount Rainier National Park is hard because there are so many awesome options. I mean, we’re talking about the United States’ fifth designated national park that covers almost 240,000 acres of forests. And right at its center is a snowy volcano standing at 14,411 feet above sea level. It’s one of the highest in the nation, which is evident by the fact that you can see it in all its majestic glory from hours away.
There are hundreds of trails throughout the national park that bring you through growth forests, alpine meadows, lakes, waterfalls, rivers, and wildflower explosions. You’re also bound to come across at least one of the 65 mammal or 182 bird species hidden throughout. This makes Mt. Rainier National Park one of the best hiking destinations in Washington.
It’s breadth can make it intimidating to find the best hikes in Mount Rainier National Park, so I put together my absolute favorites. Whether you’ve never been or are a regular, there’s a hike for you in this guide!
This post has affiliate links, which means I may earn a small commission at no cost to you if you click on them and make a purchase. This is a small way I earn money to support this site. If links aren’t showing up for you, turn off your ad blocking software. Thank you for your support!
Best hikes at Mount Rainier National Park
Before you embark on your trip, here are some fast tips.
- Get there early. As in 7:30 AM or earlier.
- Unless you’re hellbent on seeing wildflowers July – August, visit in fall.
- Wear layers, waterproof hiking boots, a hat, bug spray, and sunscreen.
- Bring a ton of water, snacks, and extra socks.
- If you’re planning on a sunset hike, bring a headlamp.
- Don’t leave any trash and stay on the marked trails.
- You’ll need to pay an entry fee and possibly book a timed reservation.
That’s right, reservations are now required from May to September! The National Park Service initiated a reservation system for the Paradise and Sunrise areas. You will now need a reservation in addition to a park pass to visit!
Now that we have the essentials out of the way, let’s get to the good stuff: the best hikes! These hikes are organized by the 5 areas of the park: Longmire/Paradise, Sunrise, Ohanapecosh, and Carbon River/Mowich.
Longmire/Paradise area hikes
The Nisqually entrance to the southwest of the national park is the most popular given its year round access. The Longmire and Paradise areas are the first sections you’ll hit once you enter.
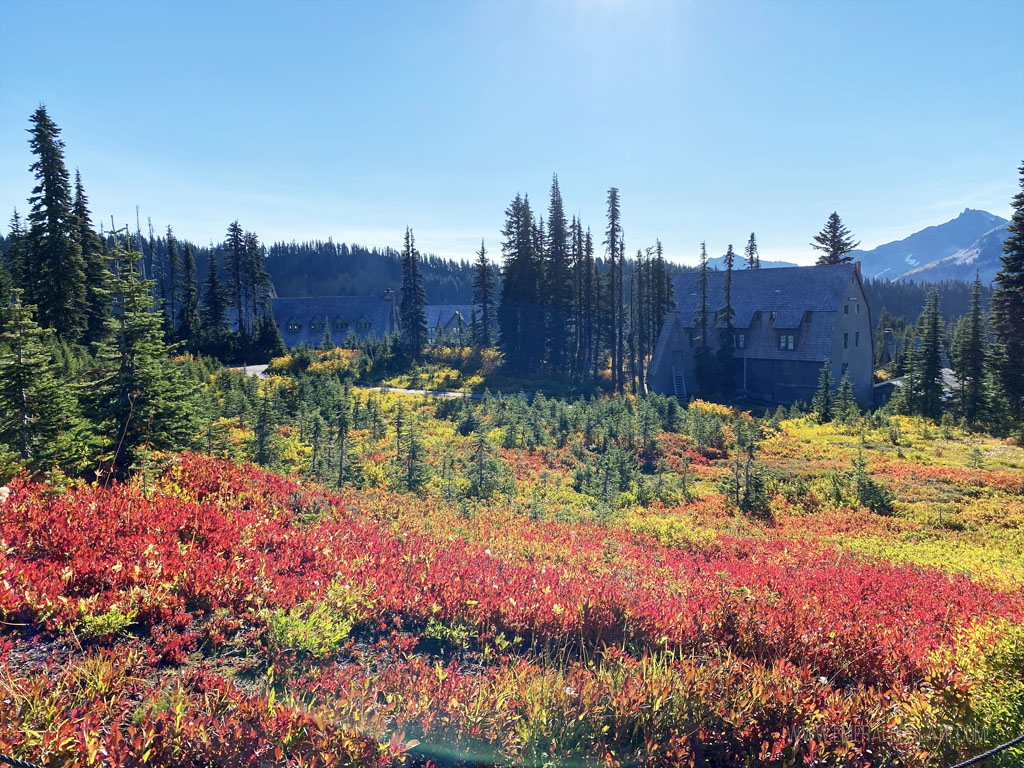
Skyline Loop Trail
website | directions | ~5.7 miles round trip loop | ~1,800-foot elevation gain | 6,800 foot at highest point
This is one of the main hikes at the Henry M. Jackson Visitor Center at Paradise. You access it from the main set of stairs leading up the mountain from the visitors center. The trail will be rather steep for the first 0.4 miles and you’ll wonder what you got yourself into, but it flattens out just as it reaches an expansive valley.
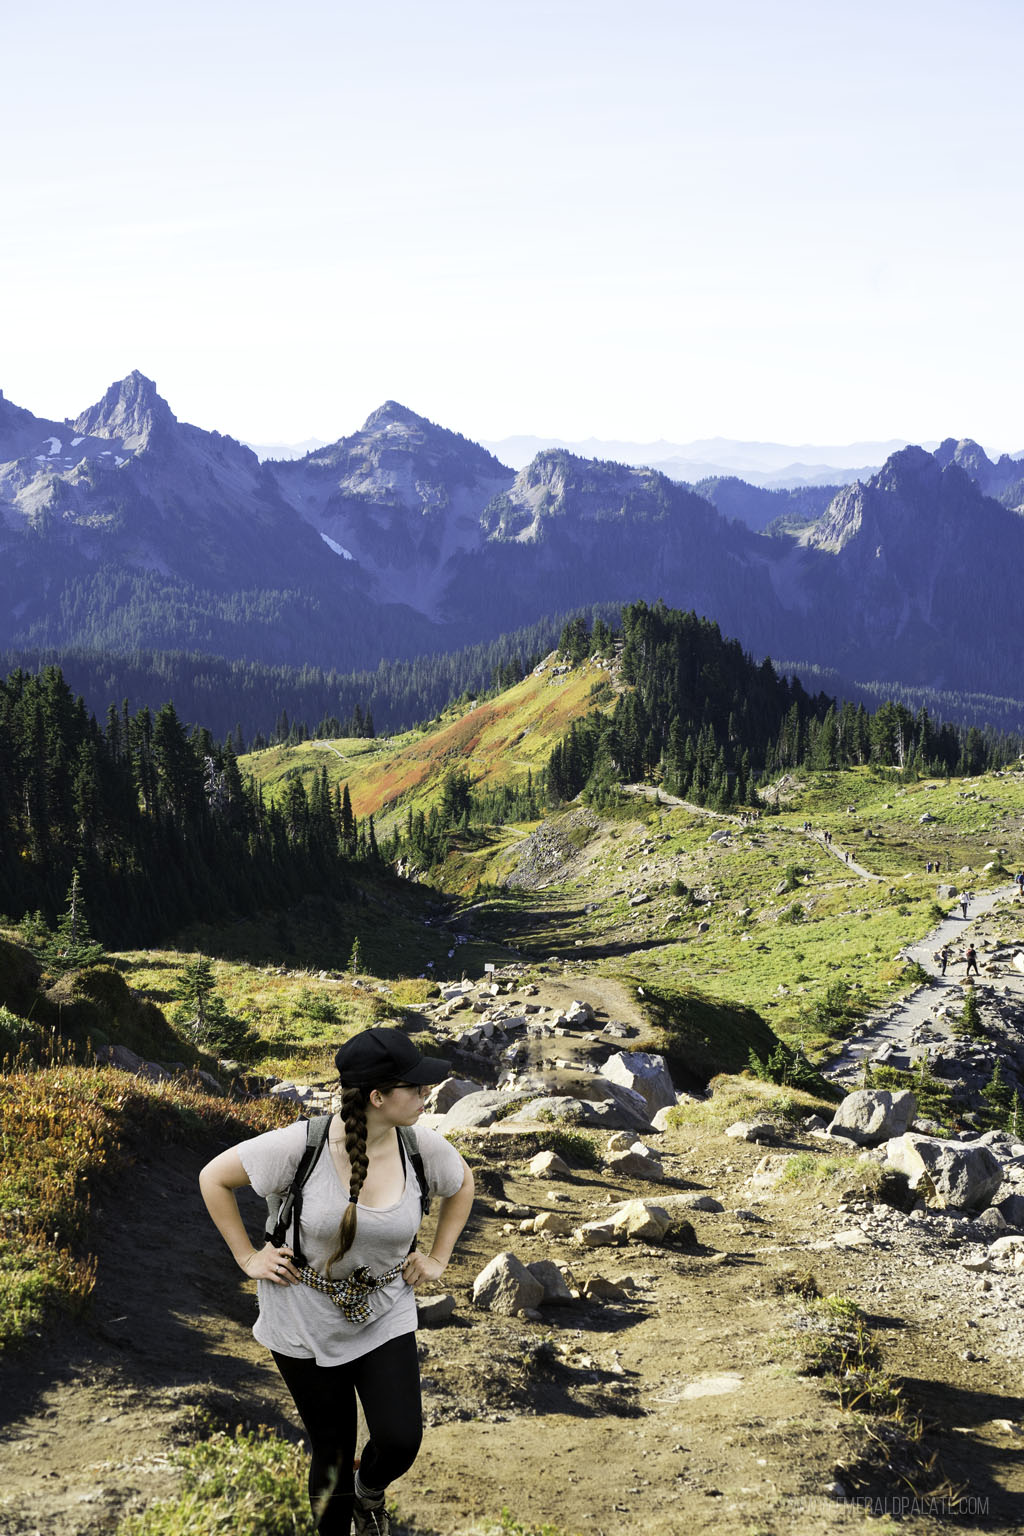
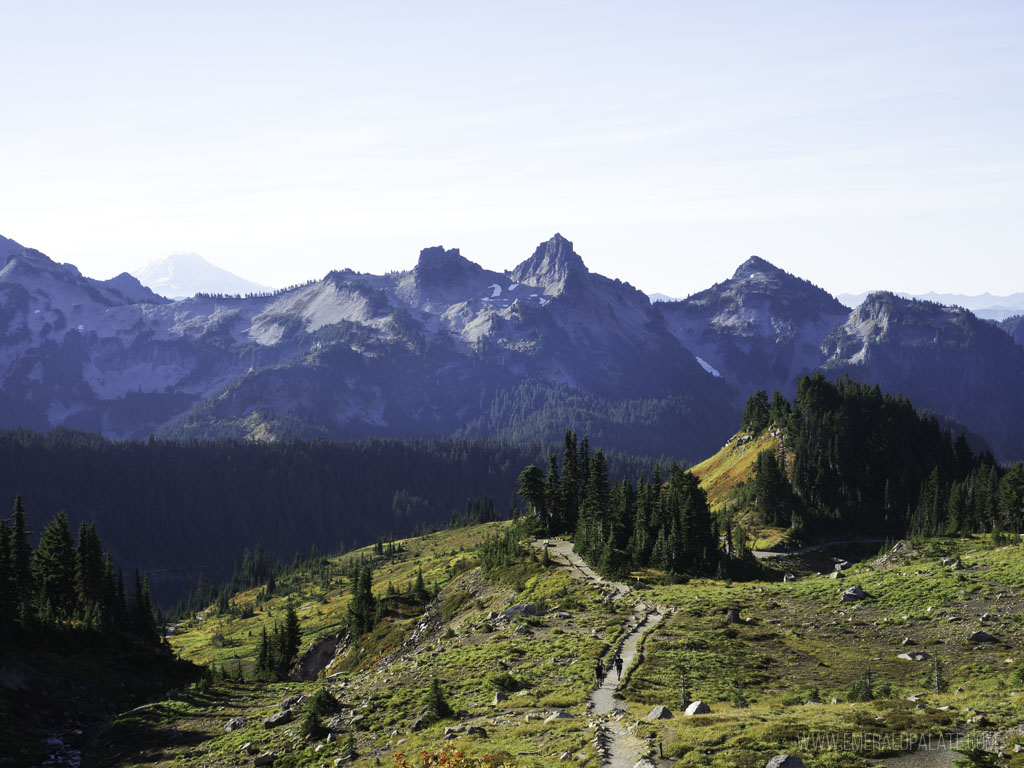
From that valley you’ll see trails weaving up and down gentle hills with stunning views of the glacier right in front of you. Behind you will be views of rolling mountains, and you’ll likely spot chipmunks scurrying around the brush. At one point there will be a fork that gives you two options for continuing on this loop. I find most people go right to take it counter clockwise, so go left to avoid some crowds.
The best thing about this hike is you have options to take other connected hiking trails. You can shorten the hike to about 3 miles round trip if you turn around at Glacier Vista. You can also shorten it to 5 miles if you turn around at Panorama Point, though the extra 0.5 mile is worth it.
No matter if you do the full loop or a shorter version, you’re in for some stunning scenery. For example, these photos are just some of what you’ll see before Glacier Vista.
Nisqually Vista Trail
website | directions | ~1.1 miles round trip loop | ~200-foot elevation gain | 5,400 foot at highest point
This loop trail is right off the lower lot of the Paradise visitors center. Most people head right up to the main trails, but this quick paved loop gives you easy views of the receded Nisqually Glacier. You’ll see the pebbled mound in front of the domineering, snowy glacier behind it from a vantage point that lets you visualize what it must have looked like before it moved.
Bench & Snow Lakes
website | directions | ~2.2 miles round trip there and back | ~450-foot elevation gain | 4,725 foot at highest point
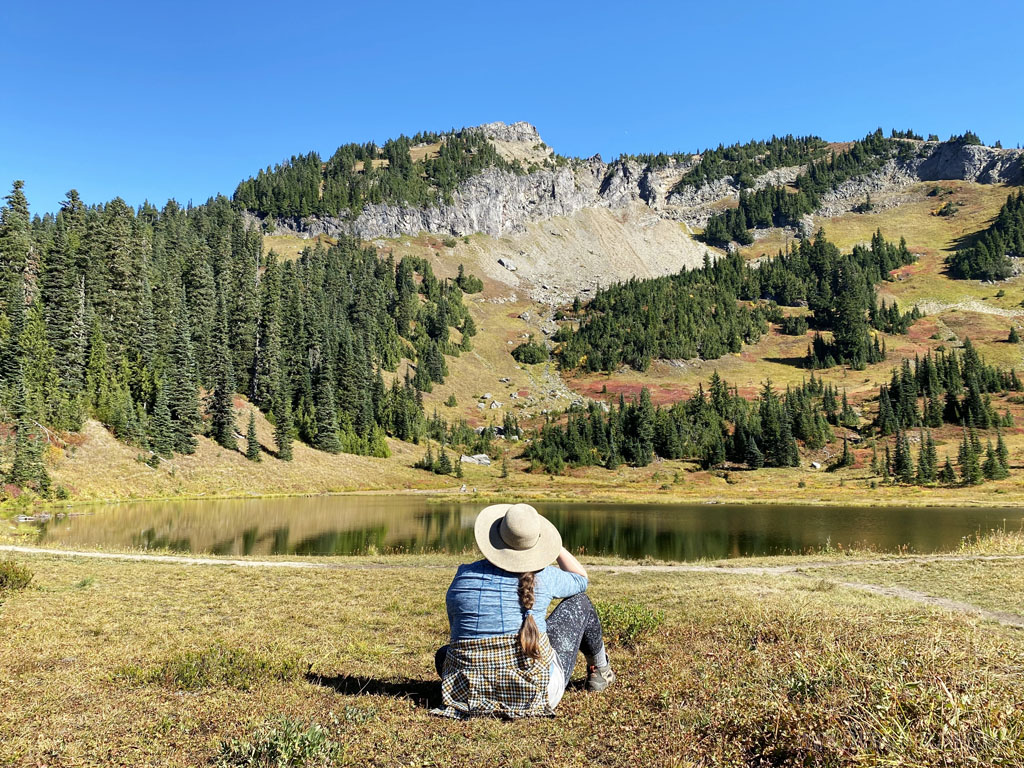
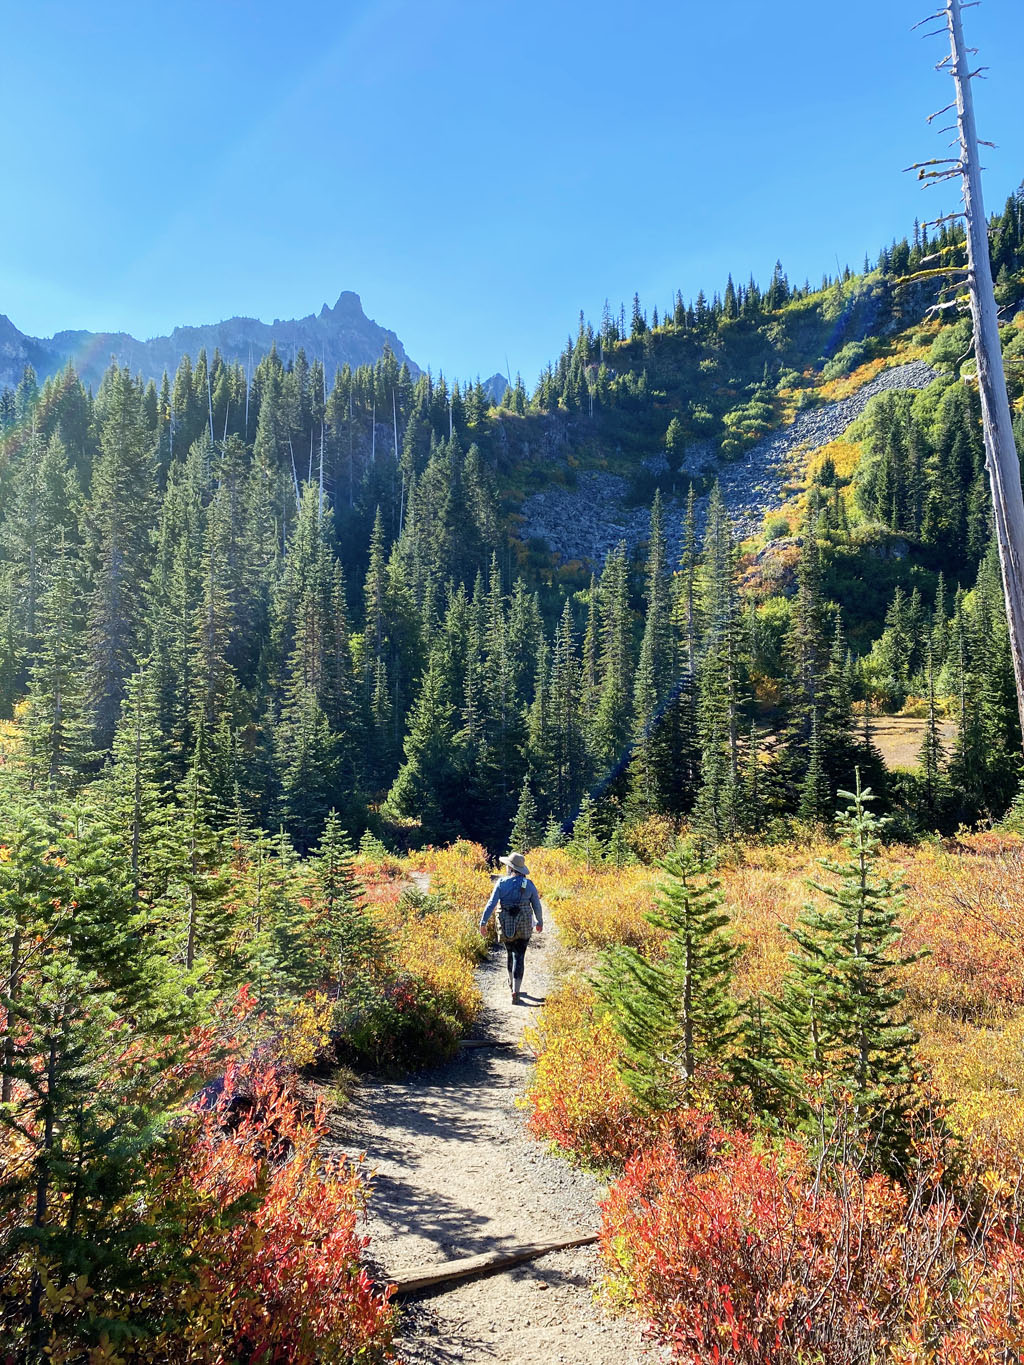
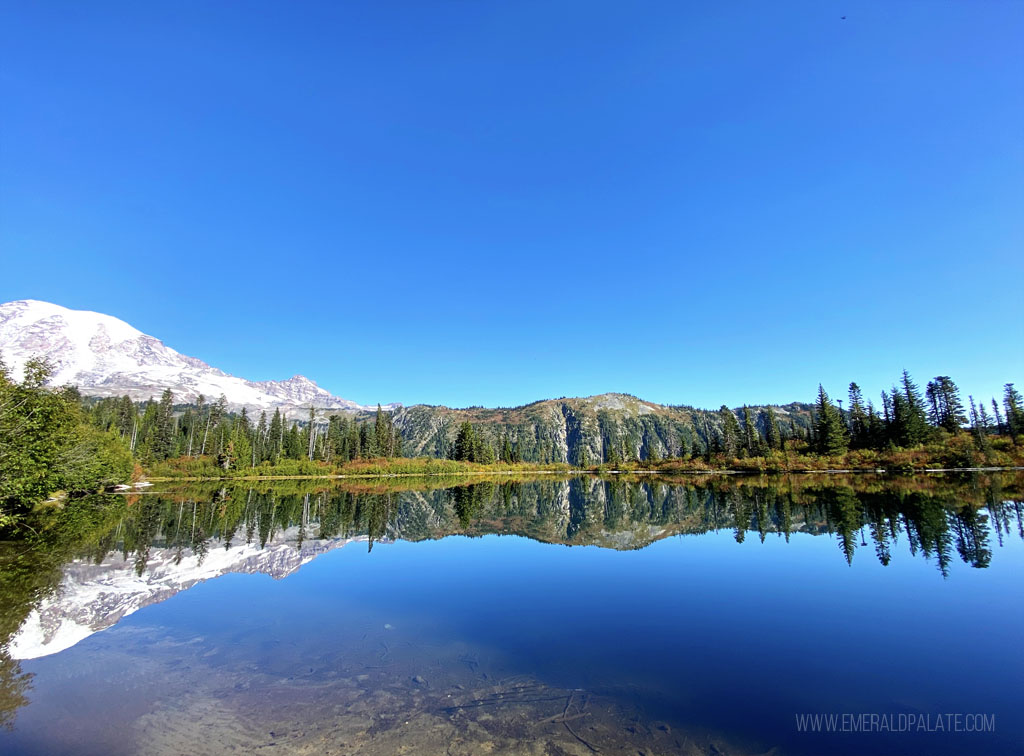
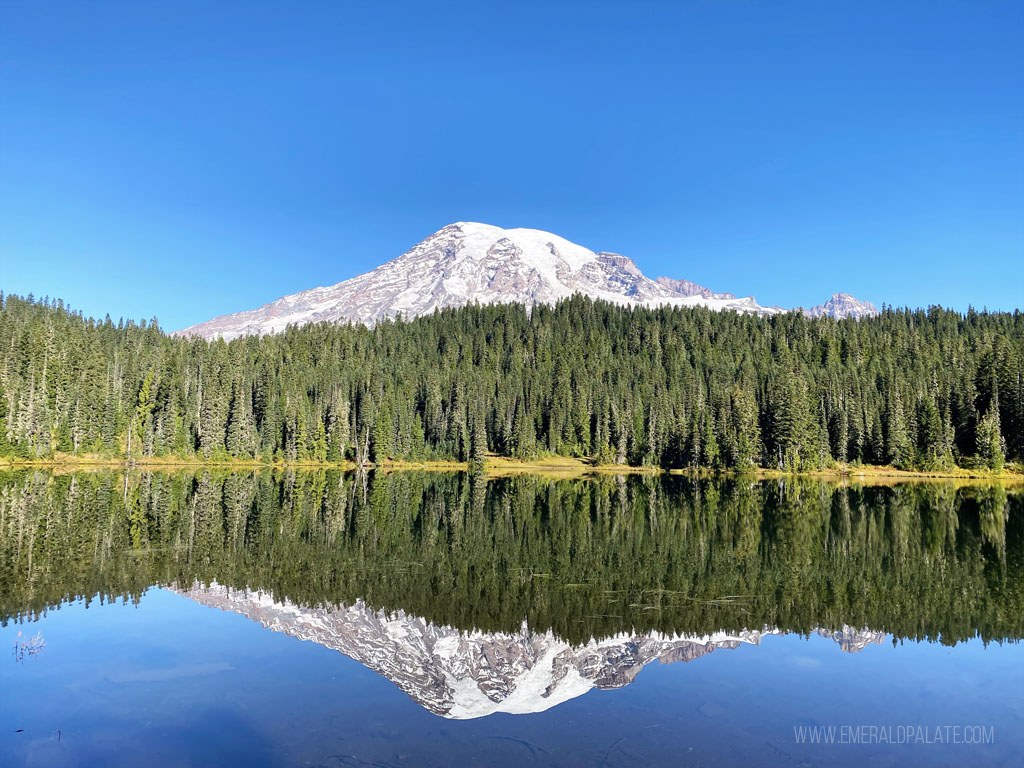
This is one of my favorite day hikes at Mt. Rainier National Park. It’s less crowded than the trails leaving from the visitors center, plus it’s only 3 minutes from Reflection Lakes so you can stop for a quick photo.
It’s not the easiest of hikes, as it goes up and down with some prolonged steep uphill parts, particularly as you go from Bench to Snow Lakes. However, it’s under 3 miles round trip and easy to manage. For reference, I did it when I was in the worst shape of my life and was ok.
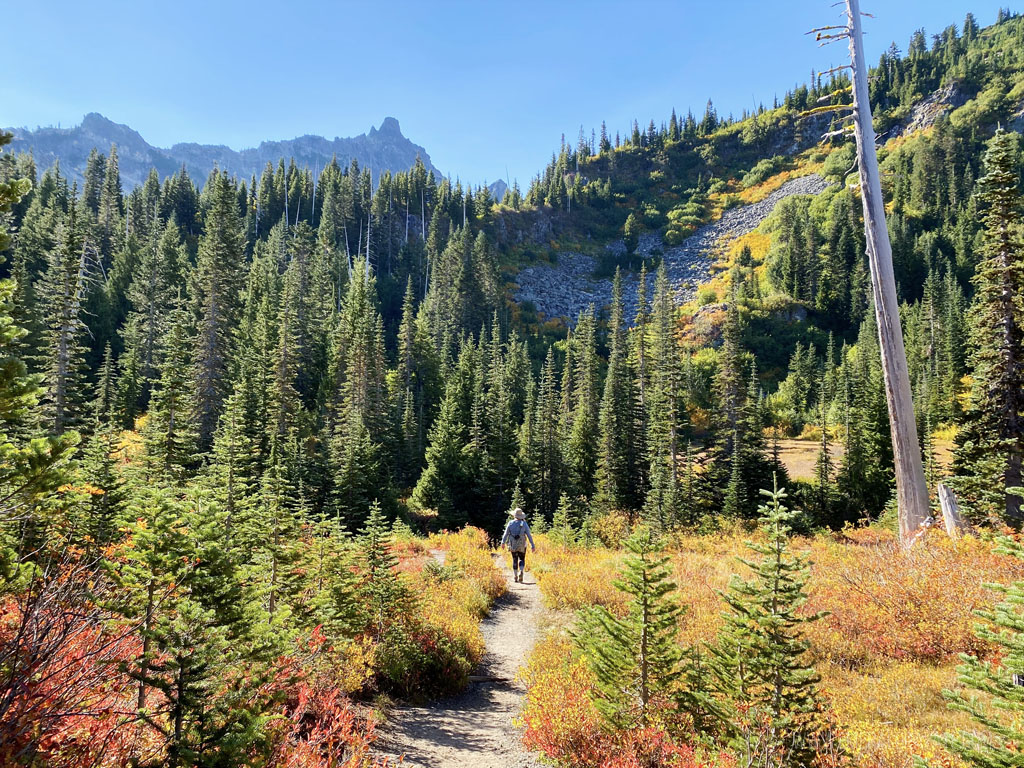
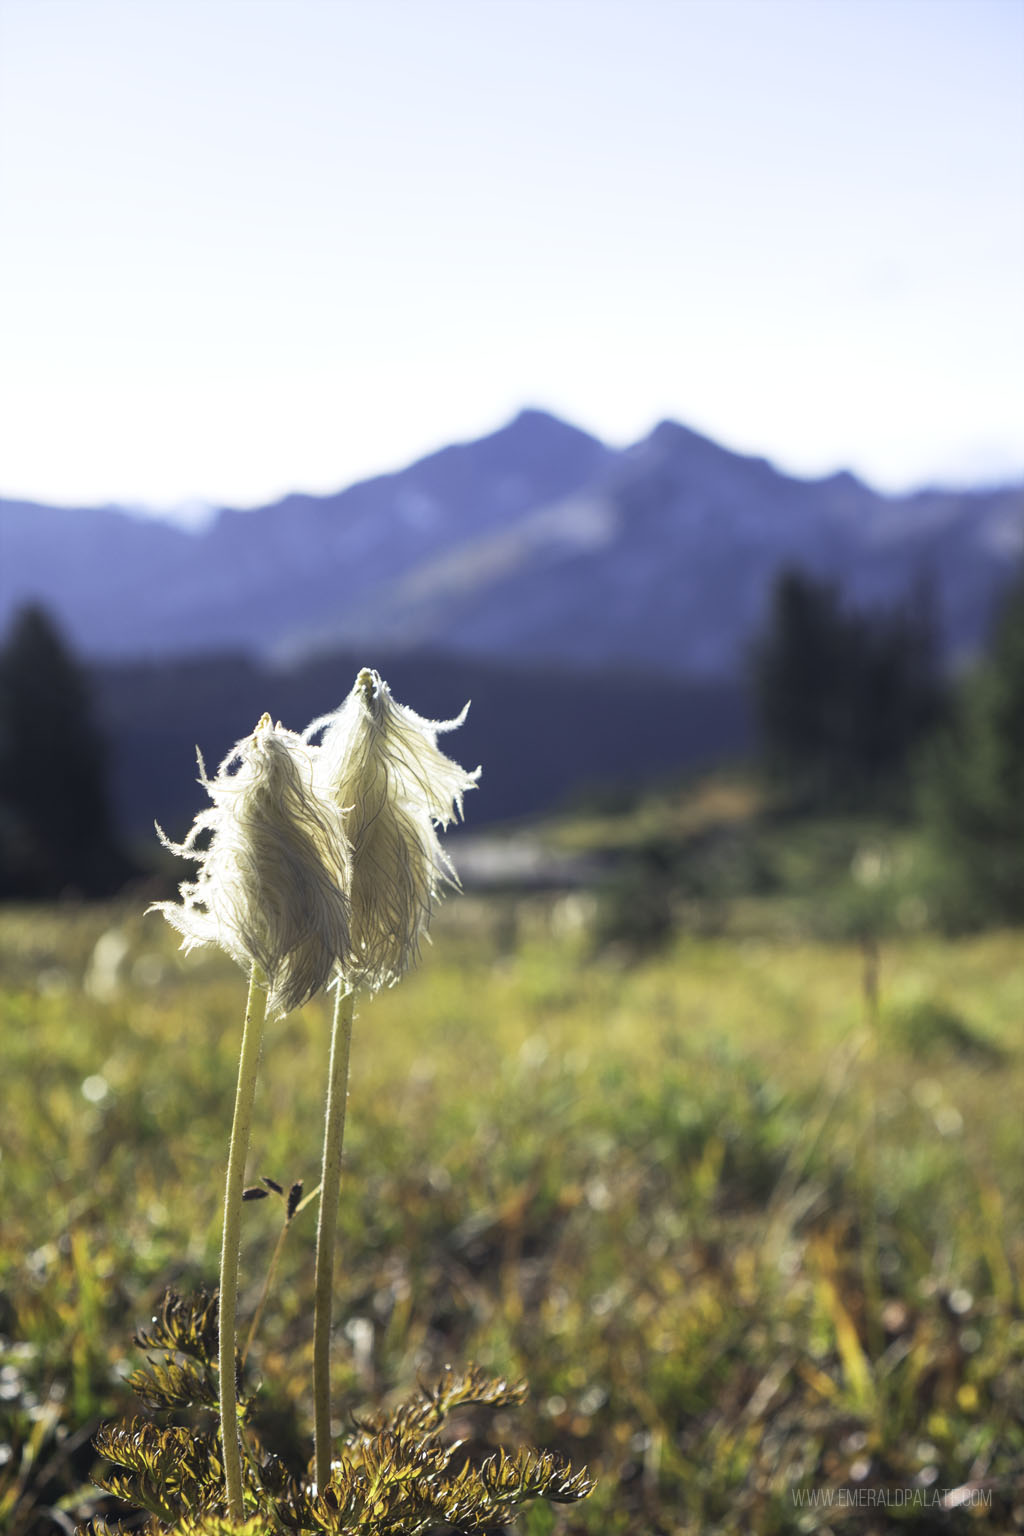
I also love me a good meadow, and this one has it almost immediately. In July through August it’ll be dotted with wildflowers, and in the fall it’ll have gorgeous autumn foliage. This is one of my favorite hikes for fall colors in Washington and could only be improved if it was also a larch hike.
Comet Falls
website | directions | ~3.5 miles round trip there and back | ~1,290 foot elevation gain | 4,875 foot at highest point
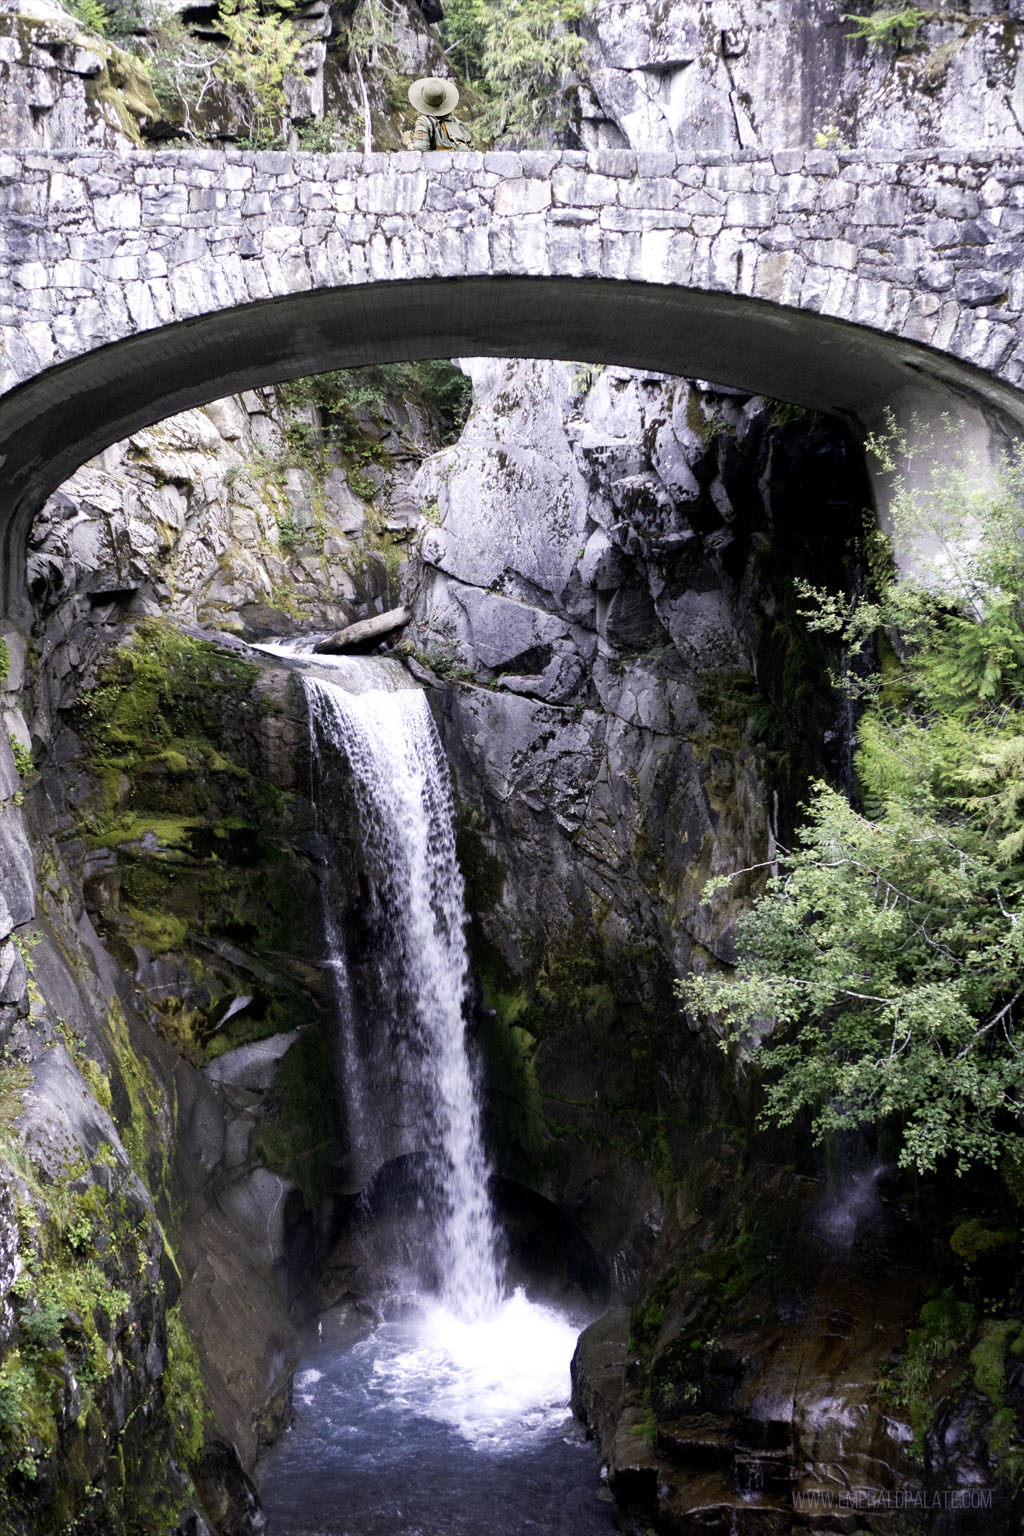
This is a pretty challenging hike through mostly forest. It starts easy enough and quickly gives you a view of Christine Falls below via a small bridge you’ll cross over. If the leaves aren’t too dense, you can see people looking at the lower section of Christine Falls from the viewpoint off the main road.
Then you’ll switchback between growth forest and clearings before heading to a rather steep section up to Comet Falls. Once there, you’ll be met with a waterfall dropping 301 feet straight down with no breaks. It’s quite magnificent, so definitely add this to your list of the best hikes at Mount Rainier National Park.
Note that you can just visit the Christine Falls viewpoint if you don’t have time for the full Comet Falls Hike. If you do this, you can pair it with a stop at the Trail of the Shadows, a family-friendly hike next to the National Park Inn only a few miles up the road.
Narada Falls to Reflection Lakes
website | directions | ~3.5 miles round trip there and back | ~950-foot elevation gain | 5,400 foot at highest point
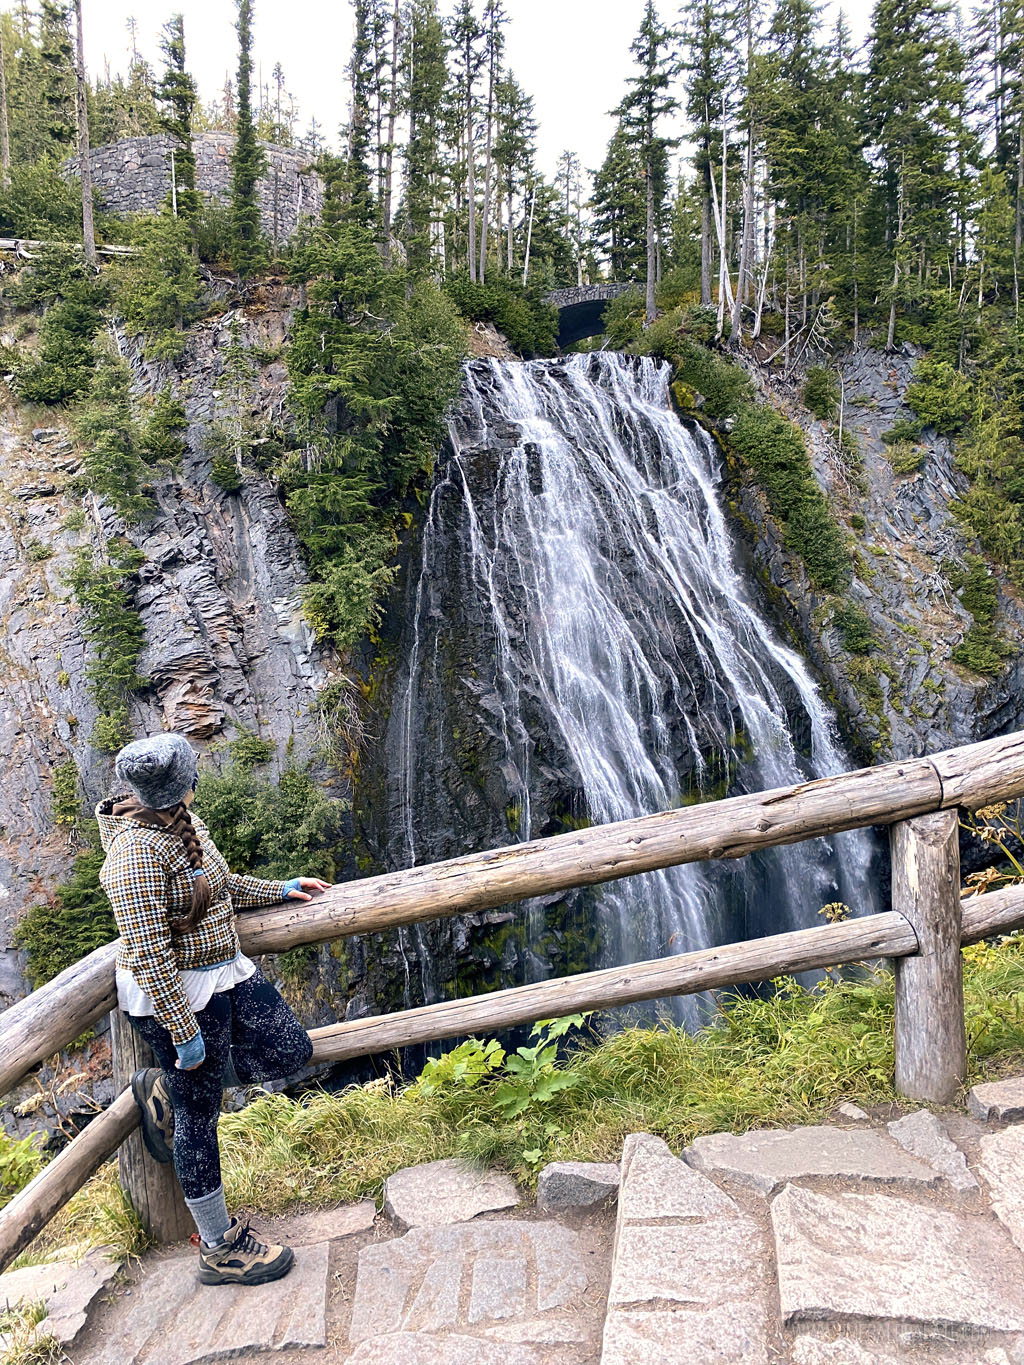
Narada Falls is named after the revered traveling musician and storyteller of Hindu tradition. The name means “uncontaminated” or “pure”, which is fitting given the ambiance of these falls.
Most people only walk the 0.1 miles down to the viewpoint of Narada Falls. However, there is a loop hike that takes you toward Reflection Lakes right at the viewpoint. You have the choice to do an approximately 3-mile or 5-mile loop, but the 5-mile loop will take you along the upper Lakes Trail to 180-degree views of Stevens Canyon, Louise Lake, and the Tatoosh Range mountains.
This is a challenging hike with a continuous gradual uphill portion. It can be more challenging in spring when the water seepage from the falls causes the trail to be wet, so dress accordingly!
Sunrise area hikes
Sunrise is accessible via the White River entrance. It’s the highest point at Mount Rainier National Park you can get to with a car at 6,400 feet! Note, this entrance is closed during the winter season.
Sourdough Ridge
website | directions | ~2.8 miles round trip there and back | ~530-foot elevation gain | 6,800 foot at highest point
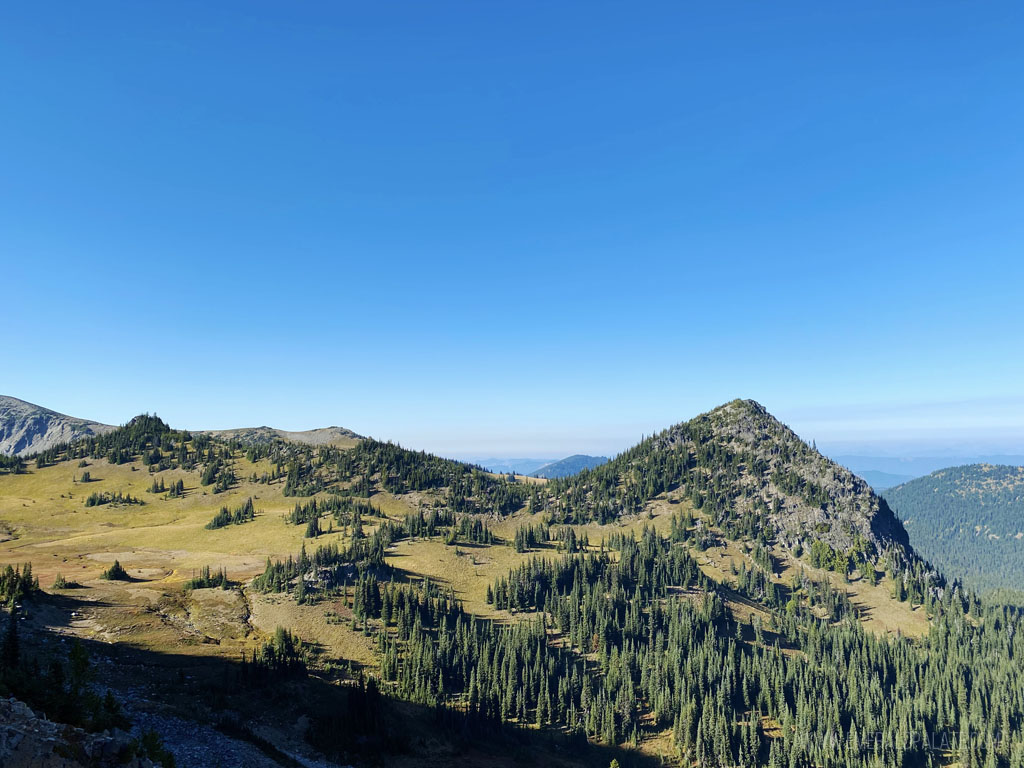
Sourdough Ridge is one of the easiest hikes with big payoff. After a gradual uphill climb from the Sunrise Visitors Center on well-groomed trail stairs, you’ll be met with a ridge overlooking the north side of Mt. Rainier on one side and the Sunrise Valley on the other. You’ll be waking along a mostly flat ridge with views on either side.
Another great thing about this hike is you can play by ear if you extend it to do a longer hike. One popular option is Burroughs Mountain. This is a tough, approximately 9-mile hike that you get to from the beginning of Sourdough Ridge. You can also do the roughly 3-mile Dege Peak that takes you the furthest away from the Mt. Rainier glacier to get a great perspective.
Mount Fremont Lookout
website | directions | ~5.7 miles round trip there and back | ~1,100-foot elevation gain | 7,200 foot at highest point
Another on of the best hikes at Mount Rainier National Park accessible via Sourdough Ridge is Mount Fremont Lookout. This takes you to an old fire lookout built in 1934 with 360-degree views of Grand Park, Redstone Peak, Skyscraper Mountain and Berkeley Park.
This is a popular spot for sunrise and sunset photos thanks to an uninterrupted view of Mount Rainier National Park. I haven’t been able to do this hike yet during those glorious lighting hours, but I’ve seen photos and it’s absolutely stunning!
Naches Peak Loop
website | directions | ~3.5 miles round trip loop | ~670-foot elevation gain | 5,850 foot at highest point
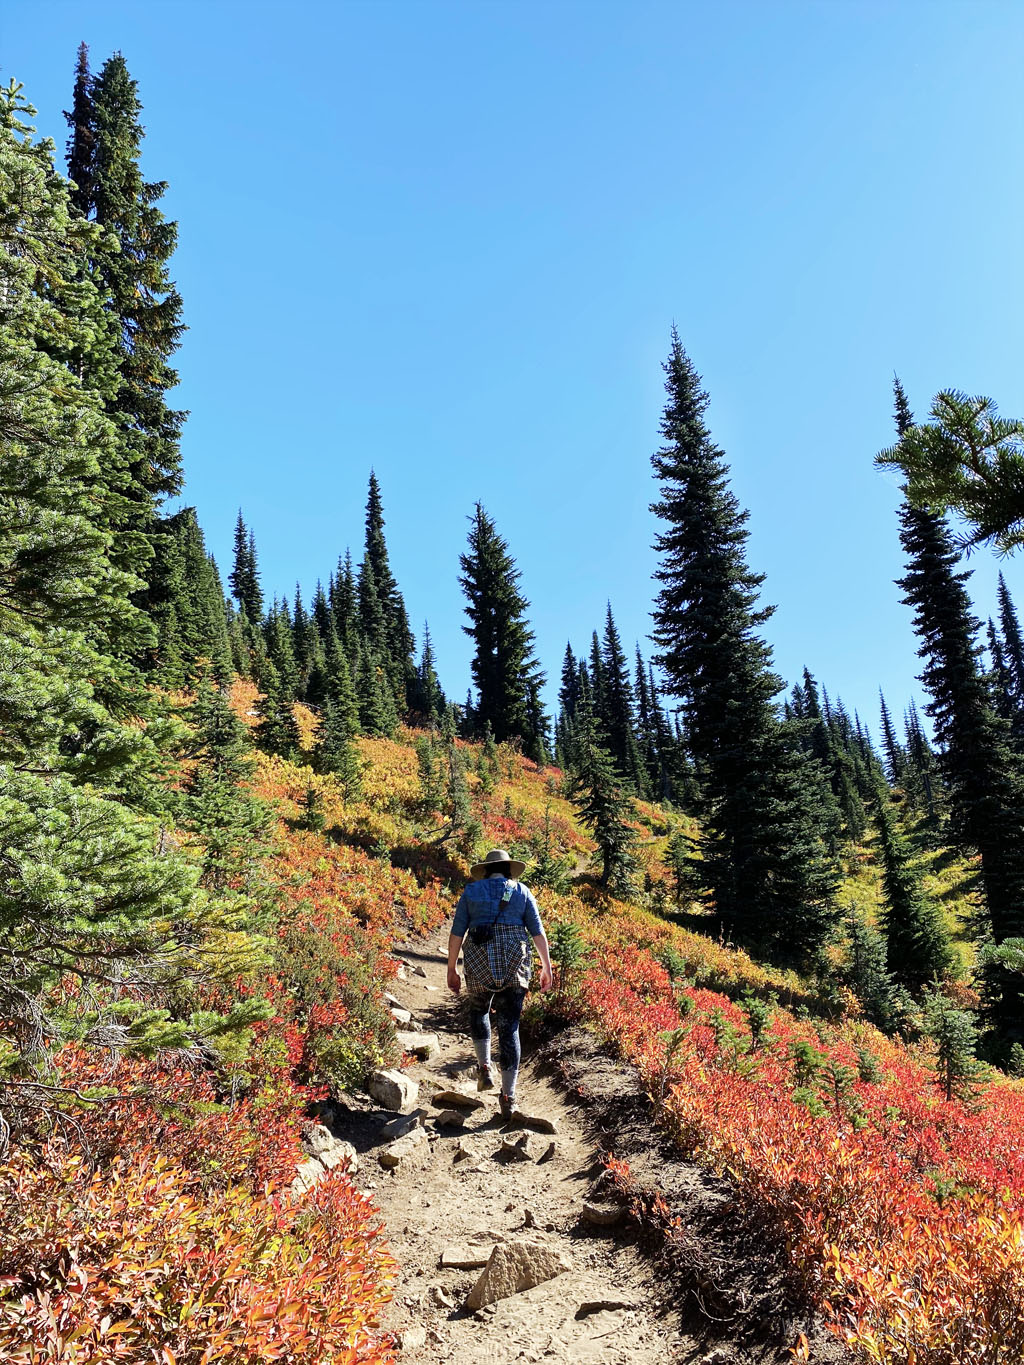
This is a relatively easy trail in Mount Rainier near the popular Tipsoo Lake visitors area. However this trailhead is across the street and offers a gentle loop through forest and a small ridge overlooking Dewey Lake. It’s also pretty cool that you’re actually on the Pacific Crest Trail…you may see backpackers doing the full journey!
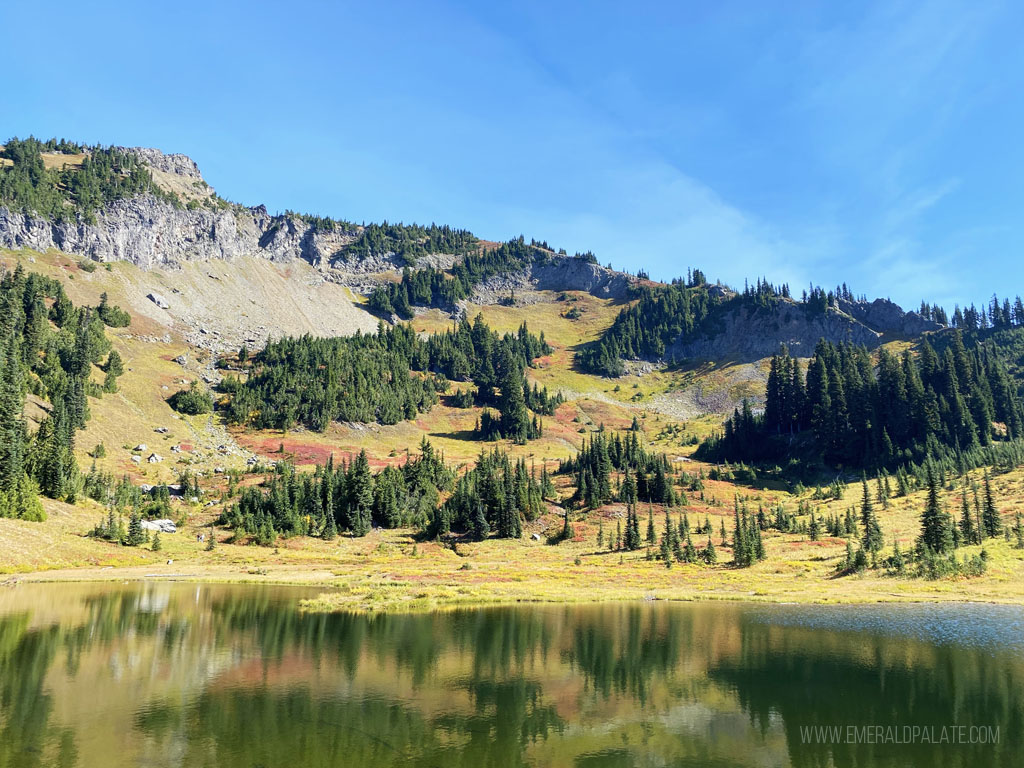
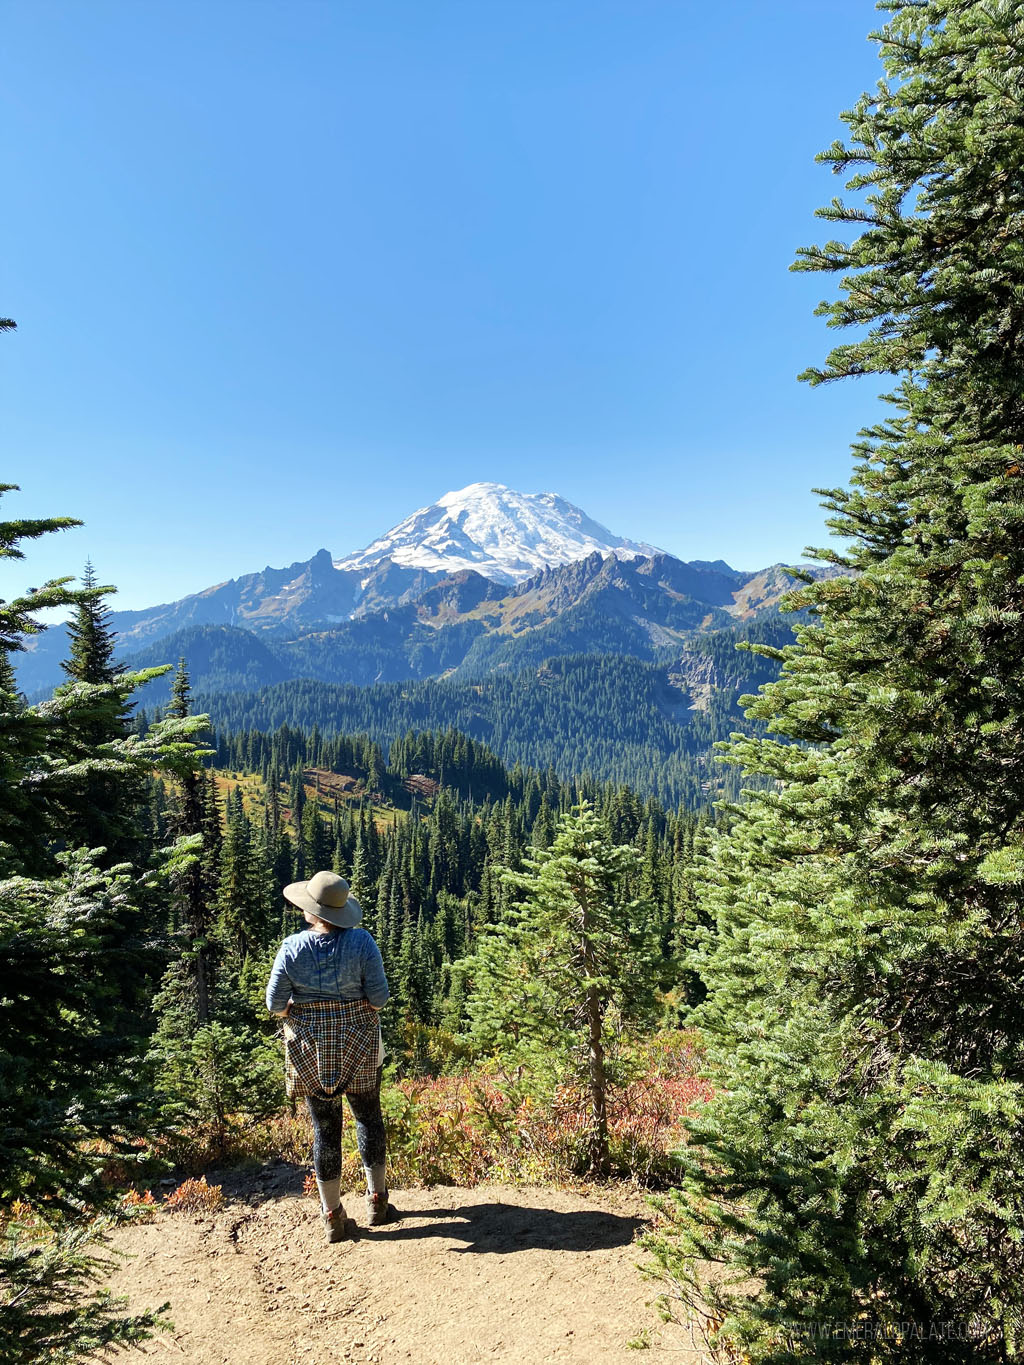
In the fall the area will be dotted with vibrant reds and golden yellows that make for stunning photos. July and August will greet you with an array of wildflowers dotting the lake from the viewpoint 600 feet above.
Ohanapecosh area hikes
This is a less-traveled area southeast of Mount Rainier National Park. “Ohanapecosh” comes from the name of an Indigenous village that once existed along the Ohanapecosh River. It’s believed to mean “standing at the edge”.
Silver Falls Loop Trail
website | directions | ~3 miles round trip loop | ~530-foot elevation gain | 2,300 foot at highest point
This is a relatively easy loop hike that weaves along the rushing waters of the Ohanapecosh River. It’s right alongside the Ohanapecosh Campground, so it’s a popular hike for stretching legs after a night cramped in a tent. You’ll also find a little offshoot that takes you to hot springs! But don’t get too excited, it’s only big enough to dip your hands in, ha!
Carbon River/Mowich area hikes
This is the quieter area at the northwest corner of Mount Rainier National Park that will have less crowds. Named after the coal deposits found in the area, it experiences a lot of rainfall. Therefore expect to see more temperate rainforest in this part of the national park than in others.
Spray Park Trail
website | directions | ~7 miles round trip there and back | ~2,200-foot elevation gain | 6,500 foot at highest point
This is a thigh-burner of a hike recommended to me by a few friends. It’s actually along the Wonderland Trail, the 93-mile route that encircles Mount Rainier. But luckily this trail is much shorter!
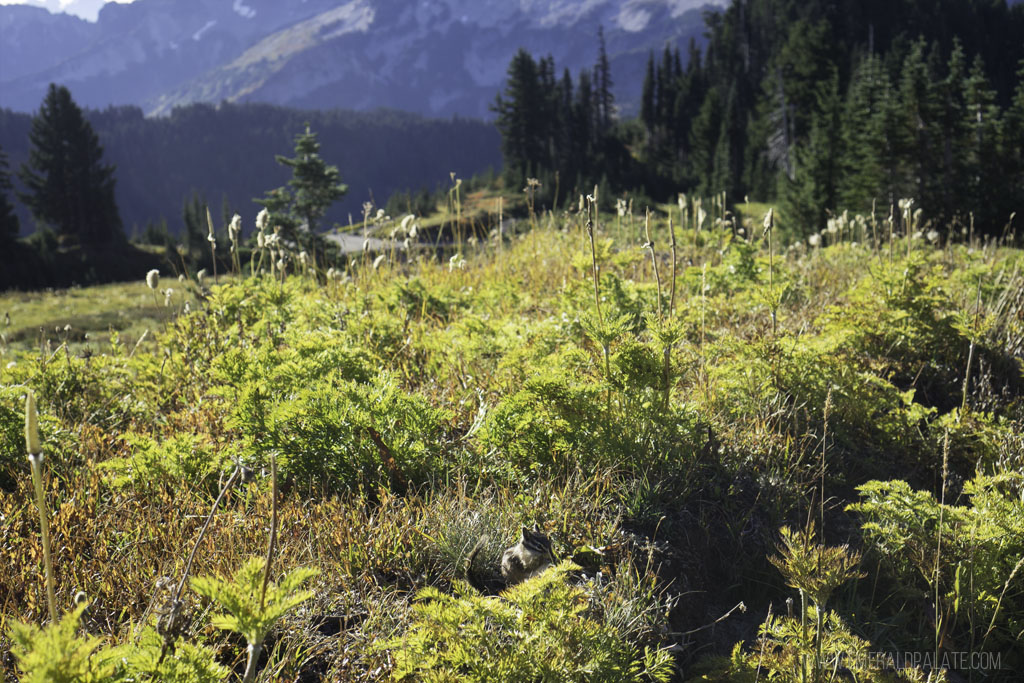
Most families will hike to Spray Falls about 2 miles in and turn around. However, there’s a fork that takes you through steep switchbacks along Grant Creek. This is the thigh burner that has a big reward for enduring. You’ll be met with meadow after meadow surrounded by forests before providing views for days of Echo Rock, Observation Rock, and Mount Rainier.
Tolmie Peak Lookout
website | directions | ~5.6 miles round trip there and back | ~1,500-foot elevation gain | 5,900 foot at highest point
This is another challenging hiking trail. However, you’ll be met with stunning views of Mt. Rainier and big blue Eunice Lake from the fire lookout at the top of the trail. You’ll also get to see Mowich Lake from the start of this hike, which is the largest and deepest lake in Mount Rainier National Park.
I haven’t had a chance to do this hike yet, but it’s the top of my list given the stunning photos I’ve seen of the area!
Map of Mt. Rainier hikes
To give you a sense of space, here are all the best hikes at Mount Rainier National Park plotted on a map. I also included a few other day hikes and a suspension bridge on my list to try if you want more ideas!
Mount Rainier guided tours
If you’re not thrilled by the idea of driving yourself to Mt. Rainier and would prefer a guided excursion, check out these options:
- Best of Mt. Rainier All-Inclusive Luxury Tour
- Mt. Rainier One-Day Tour with Lunch
- Hike Mt. Rainier and Taste Yakima Valley Wine
Determining how long each hike will take
The easiest way to determine how long a hike will take you is with a hiking calculator. A loose rule of thumb is that if it’s 500 or more feet in elevation gain per mile, it’ll likely be a harder hiker.
For example, say you want to do a 10 mile hike that gains 1,500 feet in elevation. The one-way distance 5 miles (10 divided by 2). Divide 1,500 feet elevation by 5 miles and you get 300 feet. This will likely not be that difficult of a hiking trail.
Now, if that elevation gain for the hike changed to 3,500 feet, that would be 3,500 feet elevation divided by 5 miles. This results in 700 feet in elevation per a mile. That hike will likely be tough.
More Mount Rainier National Park resources
- How to Fit it All in on a Mt. Rainier Day Trip From Seattle
- Best Food in Tacoma for Dinner on the Way Back From Mt. Rainier
- Get a Custom Trip Planned to Mt. Rainier
- Scenic Day Trips from Seattle
